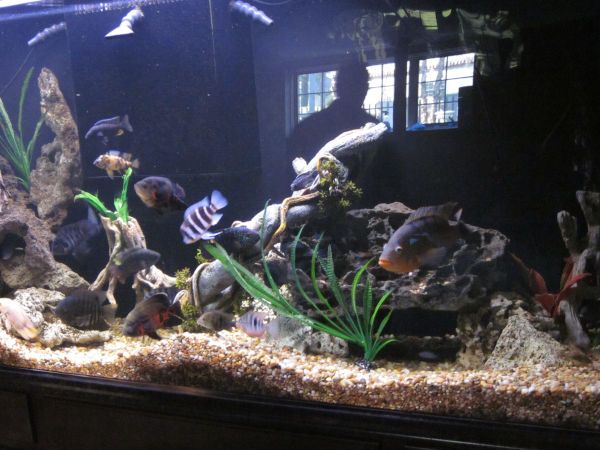
Starting your own aquarium is an exciting time. You’re about to begin a journey with captivating and colorful pets. After all, fish can provide us with hours of joy. But the first step is to set up your tank.
Setting up your tank takes a little prep time, but the result is worth it. After all, by taking the time to plan and prepare, you will help your aquarium last longer.
But how do you even begin? We’re here to help!
We’ve broken down the basics of a fish tank setup for beginners. Read on to learn how to get started in six easy steps!
Step 1: Plan Your Aquarium
Do you know where your aquarium is going to go? The placement of the aquarium can be crucial to how well it performs.
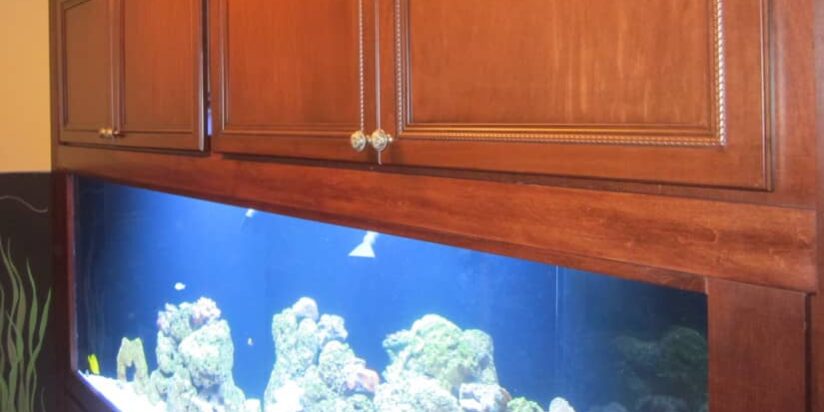
You will want to find a flat, sturdy surface for the fish tank. These surfaces ensure that your startup fish tank will be supported. A popular choice is to have a fish stand with cabinets, like the ones Living Art Aquatics creates. Cabinets come in handy when storing aquarium accessories, such as fish food, filters, and heaters.
A good tip for beginners is to go with a 20-gallon aquarium. This tank size provides ample enough room for your fish and decorations while not being too much maintenance. The surface you put it on should be able to hold the weight of a fully filled 20-gallon aquarium.
There should also be a power source nearby to plug in filters and heaters. Keep in mind that water and electricity don’t mix well. Therefore, you’ll want as few cords out as possible. Having your aquarium close to an outlet decreases the amount of extension cords you’ll need.
Once you have found the perfect spot for your aquarium, you can start filling it!
Step 2: Add in Gravel
The gravel you use should be coarse enough that water can flow over it. It also needs to be fine enough to encourage nitrifying bacteria, which is necessary to stabilize the startup fish tank.
Wash Your Gravel First
Before you place the gravel into the tank, you need to wash it. After all, gravel can collect dust during storage and shipping, which can lead to cloudy water and suffocated fish.
To wash your gravel, first, place it in a bucket and fill it with water. Then scrub down the gravel with your hands. You will see the water turn cloudy from the dust. Continue washing the gravel until the water is clear.
You can also find pre-cleaned gravel, but it is still a good idea to rinse it off first. The same goes for any rocks or ornamental decorations you want in your aquarium.
Place Your Gravel in the Tank
Once your gravel is clean, you want to put it at the bottom of the aquarium. Smooth it out with your hands, and then gently add water. A good tip is to place a flat object over the gravel to make sure it doesn’t move when you introduce water.
A common mistake for a fish tank setup for beginners is adding water too quickly. Doing this can disrupt the gravel and cause it to float. It can kick up bacteria quicker than you want as well. To keep this from happening, start with about 2-3 inches of water.
Step 3: Fill Your Tank
You can fill your tank with water from the tap or the hose. After you have filled your tank to the appropriate level, the next step is to clean that water.
Dechlorinate the Water
Your tap and hose water has a chemical in it called chlorine. Chlorine is used to clean the water you drink, but it’s harmful to fish. Therefore, you will want to invest in a good dechlorinator. You should use the dechlorinator every time you clean your tank because chlorine can build back up over time.
Filter the Water
You should also have a good filtration system set up for the aquarium. A filtration system takes out the bad bacteria and chemicals that reside in the water.
Be sure to clean your filter before you use it. Because similar to the gravel, dust can build up in the filter during storage and shipping.
Install a Water Heater
A water heater is not incredibly necessary for freshwater aquarium maintenance. However, if you have tropical fish, a water heater is vital to their survival. Tropical fish in saltwater tanks need heat to survive, and a water heater is a must-have for those fish.
If you’re unsure whether your aquarium needs a heater, then ask the experts at Living Art Aquatics! We can help you determine the right equipment for your tank.

Patience is key when introducing new fish into your aquarium.
Step 4: Cycle the Aquarium
The next step is to have your aquarium go through the nitrogen cycle. The nitrogen cycle converts harmful bacteria from waste into good bacteria. Before you introduce a variety of fish to your aquarium, it needs to cycle through.
How do you start the nitrogen cycle? By adding hearty “starter fish.”
First, you need to wait at least 24 hours before introducing any fish to your aquarium. In those 24 hours, the water should stabilize. After the water has stabilized, you can add in a few fish.
Starter fish are generally more adaptable to new surroundings and have a better temperament. If you have a freshwater fish tank, go with fish like danios and tetras. If you have a saltwater aquarium, you’ll probably want clownfish or angelfish.
Once you have added the fish, they will start the nitrogen cycle. Their waste will convert into ammonia and other harmful bacteria. Then the plants and nitrifying bacteria will turn that bacteria into good chemicals.
You’ll want the aquarium to go through a full cycle before adding the rest of your fish.
Step 5: Test the Waters
Water testing is essential in setting up a new aquarium. Once you have put in your starter fish, you should test the water regularly to see where the levels are. If the ammonia or nitrite levels are high, then it’s not time to add the fish yet.
There are test kits available for this process. These kits show you what levels you are currently at and where you need to be. The nitrogen cycle is complete once the nitrite and ammonia levels are at zero.
Step 6: Add Your Fish
Now for the part you’ve been waiting for: putting your fish in the tank! Here’s how to do it for the best results:
Keep in mind that different fish may have different introduction methods. So, make sure you talk with an expert about what cautions to take before introducing new fish.
When it comes time to introduce your fish, you’re going to be excited. And you should be! It’s an exciting time. But remember to be patient. Having fish can be rewarding, but it takes time to do it right.
You should add your fish to the aquarium slowly. One way to do this is by taking the bag your fish came in and floating it on the surface of your tank’s water. Have it sit there for ten minutes. Then open the bag and pour a cup of your aquarium’s water to it. Reseal the bag and let it float for another ten minutes.
Continue repeating these steps until the bag is full. Then use a net to transfer the fish from the bag into the aquarium. Doing it this way will reduce the risk of water from the bag getting into the aquarium.
Monitor your fish carefully over the next few hours and see how it reacts to its new surroundings. And don’t forget to enjoy your fish! They are wonderful pets and have so many different benefits!

Living Art Aquatics designs aquariums for any space imaginable.
Do You Want to Add Beauty to Your Room?
Aquariums have a way of brightening any place they are in! At Living Art Aquatics, we install aquariums at several different locations for a variety of room dimensions!
Are you ready to begin your journey of owning an aquarium? Give us a call at 847-737-5151 or stop on in our design storeroom in Crystal Lake, IL!


